When working on automotive brake systems, proper flaring of brake lines is essential for ensuring a leak-proof and reliable connection. Whether you’re a seasoned mechanic or a DIY enthusiast, mastering the art of flaring brake lines is crucial. In this guide, we’ll explore the best techniques to flare a 3/16 brake line, use Brake Line Clips, and get the most out of your Brake line flaring tool. We’ll also discuss how to work with copper nickel fuel lines and Inverted flare fittings for a professional finish.
Understanding the Basics: What You Need to Know
Before diving into the flaring process, it’s essential to understand the components and tools involved. The most common brake line size in vehicles is the 3/16 brake line, known for its compatibility with most brake systems. This size is standard in many vehicles, making it the go-to choice for replacements and repairs.
Brake line clips are small but essential components that secure the brake lines to the vehicle’s chassis. These clips prevent the lines from moving or vibrating, which can lead to wear and tear over time.
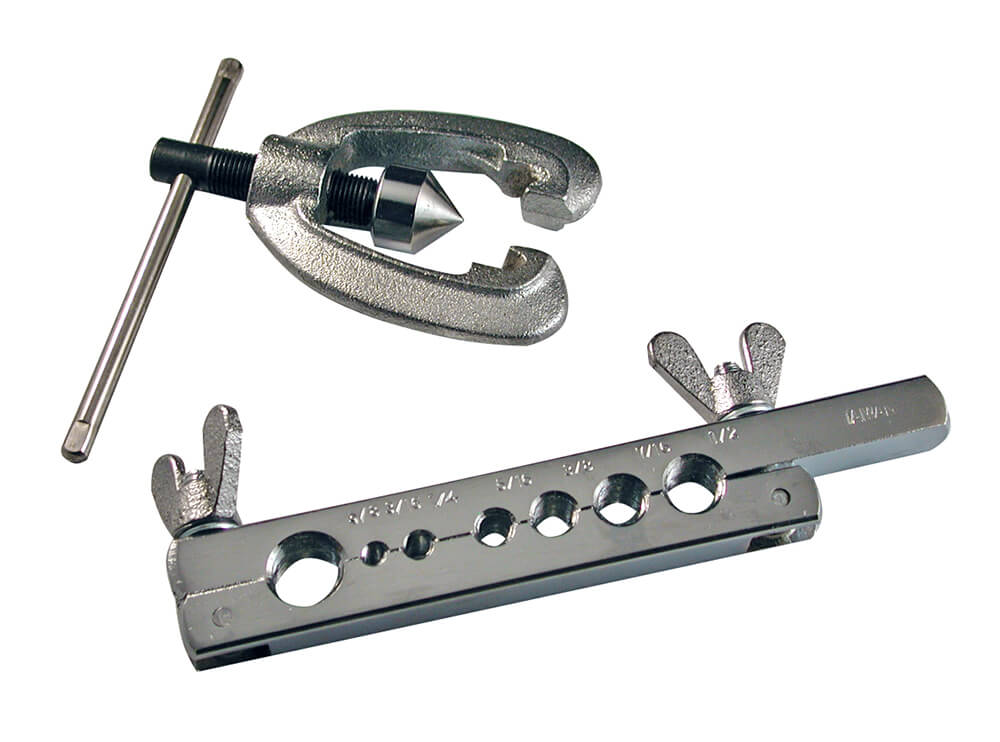
A Brake line flaring tool is a specialized device used to create a flare at the end of the brake line. This flare is necessary for fitting the line into the corresponding brake components using Inverted flare fittings, ensuring a secure, leak-free connection.
Choosing the Right Materials: Copper Nickel Fuel Line
When it comes to selecting the material for your brake lines, Copper Nickel Fuel Line is a popular choice. Unlike steel brake lines, which can corrode over time, copper nickel is highly resistant to rust and corrosion. This material is also more flexible, making it easier to bend and flare without the risk of cracking or splitting.
Copper nickel brake lines are particularly beneficial for those living in regions with harsh winters, where road salt can accelerate corrosion in steel lines. The durability and flexibility of copper nickel ensure that your brake lines will have a longer lifespan, providing safety and reliability for years to come.
Step-by-Step Guide to Flaring a 3/16 Brake Line
Flaring a brake line is a process that requires precision and attention to detail. Here’s how to do it correctly:
Cut the Brake Line: Start by cutting the brake line to the desired length using a fuel line tubing cutter. Ensure that the cut is straight and clean, with no burrs or rough edges. A clean cut is crucial for creating a smooth flare.
Deburr the Line: After cutting, deburr the inside and outside edges of the brake line using a deburring tool. This step is essential to remove any sharp edges that could interfere with the flaring process.
Insert the Line into the Flaring Tool: Place the 3/16 brake line into the Brake line flaring tool. Ensure that the line is positioned correctly, with enough length sticking out to create the flare. Tighten the tool securely to hold the line in place.
Create the First Flare: Using the flaring tool, create the first flare, typically a bubble or double flare. This type of flare is commonly used in automotive brake systems, as it provides a strong, reliable connection.
Form the Inverted Flare: After creating the initial flare, use the flaring tool to form the inverted flare fitting. This fitting is designed to match the components in your brake system, ensuring a perfect fit and a leak-proof seal.
Inspect the Flare: Once the flare is complete, inspect it closely to ensure it is even and free of cracks. An improperly formed flare can lead to leaks, compromising the safety of your brake system.
Installing Brake Line Clips and Final Assembly
With the flare complete, the next step is securing the vehicle’s brake line using Brake Line Clips. These clips should be positioned along the length of the brake line, securing it firmly to the chassis. Proper installation of Brake Line Clips prevents the line from moving, reducing the risk of damage or wear over time.
Finally, the brake line is connected to the corresponding components using inverted flare fittings. Tighten the fittings securely, ensuring a snug, leak-free connection. Once everything is in place, bleed the brake system to remove any air that may have entered during the installation process.
Conclusion
Flaring a 3/16 brake line with the right tools and materials is a skill that every mechanic or DIY enthusiast should master. By using a high-quality Brake line flaring tool, choosing a durable Copper Nickel Fuel Line, and securing the lines with Brake Line Clips, you can ensure a safe, reliable brake system that will stand the test of time. Whether you’re replacing old lines or installing new ones, following these steps will help you achieve professional results with confidence.
Keep an eye for more news & updates on Tribune Breaking!